Table of Contents
Setup for Fortran Environment
By Yutaka Masuda
What you need in Summer Course
All the programming will be done on a remote server (computer). You have to connect to the server over network, edit and compile your program files online.
- Terminal software — to connect to a remote server over network
- X Server — to invoke window applications online and show the window in your computer
- File transfer agent — to download the files from the remote server to your local computer
Windows PC
Recommended software
If you use a PC built in the lab room, all the programs have already installed and you don't have to do anything — just use it. If you have your own PC and you don't have any ideas about the programs, please install the following software by yourself.
- Putty : terminal software
- Xming : X Server
- WinSCP : file-transfer agent
We recommend above software but, if you already have favorite software, please use one you like. Even in such a case, please read through the following documentation which explains some important configurations.
Putty
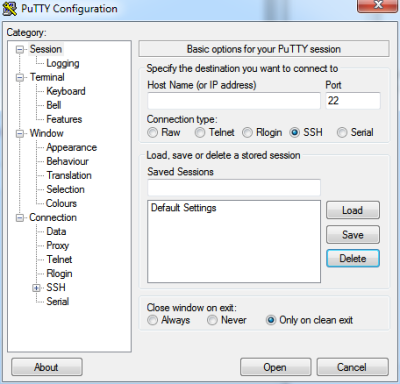
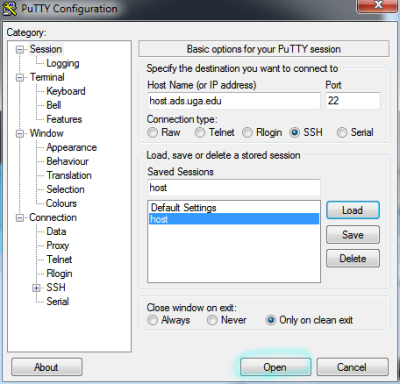
If your installation is successful, you will see the following window when you run Putty.
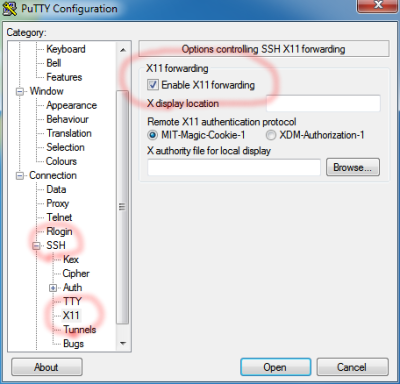
To enable to show windows from servers, open “Connection” - “SSH” - “X11” and check “Enable X11 forwarding”.
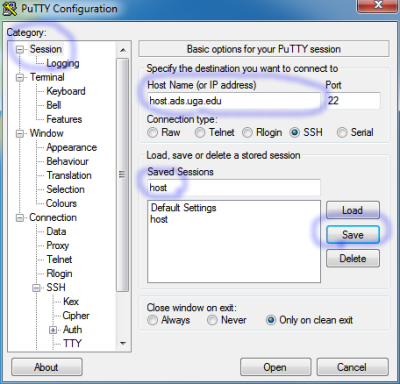
Return to “Session” and type your host name in “Host Name”. You can save this configuration in your PC by putting a label in “Saved Sessions” (any name is fine for this purpose). Finally click the “Save” button.
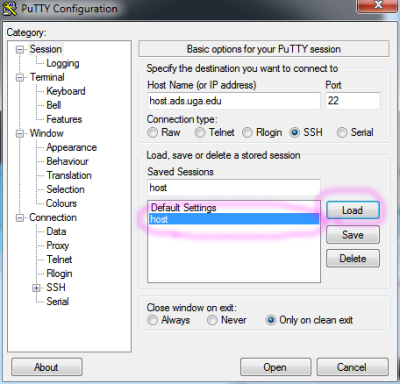
In the next run, you can just choose your configuration in the “Saved Sessions” area and click “Load” so all configurations will be restored.
To connect the Linux server, click the “Open” button.
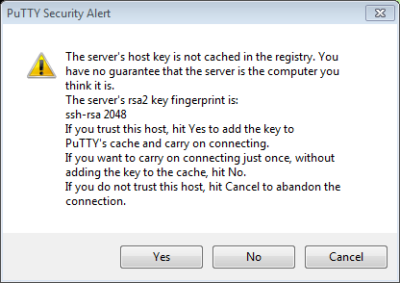
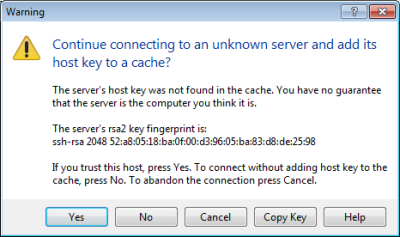
In your first connection to the server, you will see the following dialog window. You can simply click “Yes” to proceed the connection.
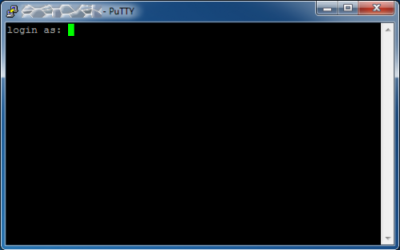
You will see the following black window. Type your user name and hit the Ender key. Then type your password and hit the Enter key. Note that your password will not be shown in the window but the key-in is successfully captured by the system.
WinSCP
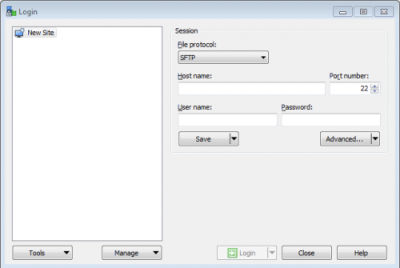
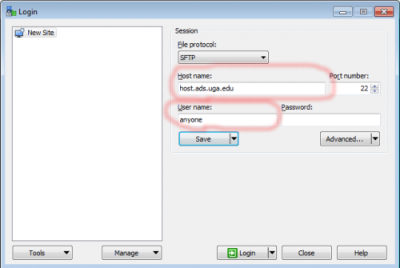
When you run WinSCP, the following window appears.
Type the “Host name” and your “User name” in each box.
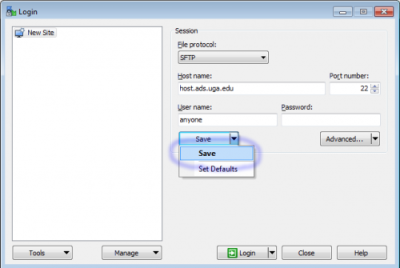
You can save the configuration in your PC. Click the “Save” button and select “Save”.
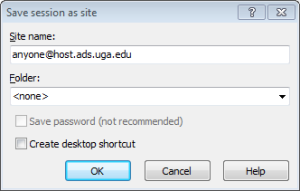
You can put any label to this configuration. Just click “OK” if you have any preference.
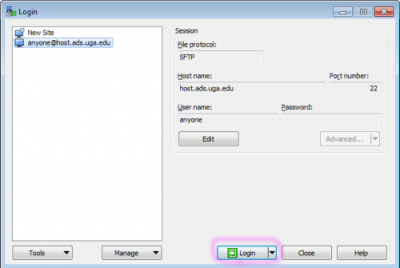
The left pane shows a list of available configurations. Select one that you just created and click “Login”.
You will see the following dialog window if this is the first connection to the server. Just click “Yes” to proceed the connection.
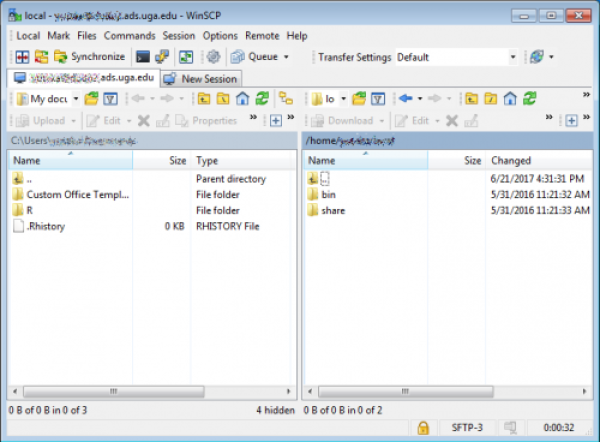
Finally, you will see the following window.
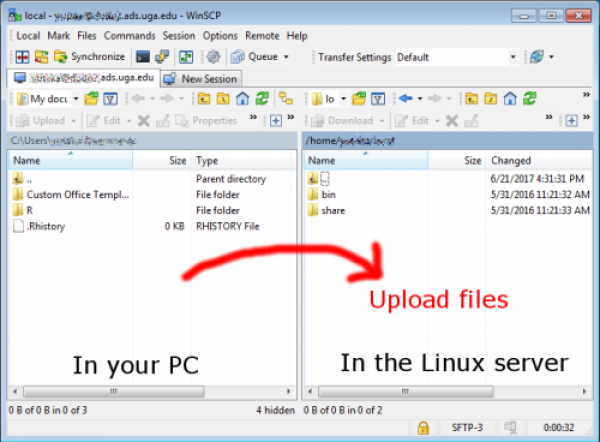
To upload your files, drag the files in your PC (left pane) and drop to the server (right pane).
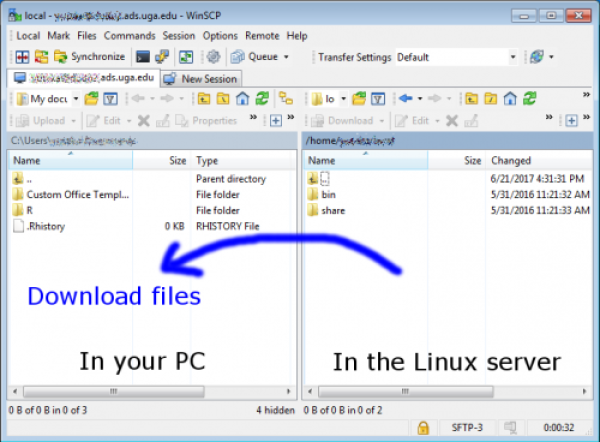
To download files, drag the files in the Linux server (right pane) and drop to your PC (left pane).
Xming
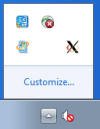
Xming is needed only if you want to transfer a window from the Linux server to your PC. Once you run Xming, you will see a small icon on the system tray (usually stays in the right-bottom corner on your screen).
Or, the icon is hidden in a group of icons.
This program stays in the background and wait to receive a window from a remote server.
To check if Xming is working, log-in a Linux server and type ``xeyes``. You will see big eyes on your PC if the systems work well. This window is generated in the Linux server and transferred to your PC. Just close the window after the check.
Mac
Mac has Terminal so two more programs are needed.
If you are familiar with the command line (the command scp), you don't need Filezilla as well.
- Terminal : terminal software (already installed)
- X Quartz : X Server
- Filezilla : file-transfer agent
Terminal
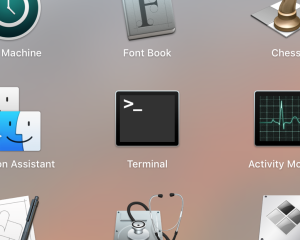
Open Terminal, which is in Applications - Utilities.
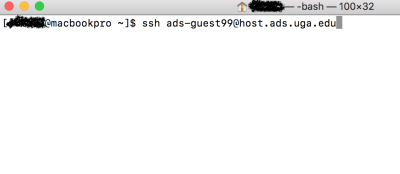
Type ssh + the user name + @ + the host name.
The user name and the host name will be given by the course master.
Then type the Enter key.
It will ask you the password.
The password will NOT be shown on the screen.
After typing in the password, hit the Enter key.
If successful, it shows a prompt like [ads-guest99@host]$.
Close the window or type exit to quit.
XQuartz
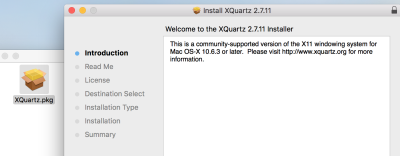
Download the installer from https://www.xquartz.org/ and install it.
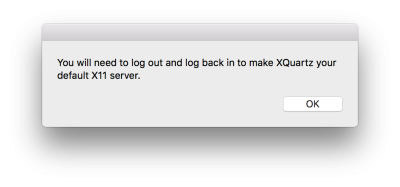
With this window, please logout and login again.
Filezilla
Download the installer from https://filezilla-project.org/ and install it.
Please find the usage at the official website https://wiki.filezilla-project.org/Documentation.
